The open road, a cooler full of drinks, a bag of snacks—exploring the country one mile at a time...
My husband and I have taken enough road trips over the years to consider ourselves experienced road trippers. Yet, there’s always something new to learn and discover along the way. We took a ten-day road trip in the first half of June, and this trip was special because we brought along our dog, Kirby, who usually stays with family during our longer adventures.
I also put more effort into journaling on this trip. Although I didn’t finish the journal during the trip itself (and still haven’t), I’m proud of what I managed to document while resting from travel and exploring. So, for something different in this mid late-month update, I’ll share an overview of our road trip, then discuss a few tips and strategies I’ve come across for journaling on a road trip (and on a budget), what I packed, what I actually used, and what I wished I’d brought along.
The Trip
On our first day, we drove from Houston to Denver. In hindsight, tackling that drive in one day was exhausting and probably not the best decision, but it saved us money and time. When we do long drives like this, we switch drivers every time we have to stop for gas, which is usually after three or four hours of driving. The drive out of Texas was brutal, taking twelve hours to reach the state border from Houston. Then another six hours to reach Denver. We faced storms, tumbleweeds, darkness, deer, and terrible drivers, but we made it.
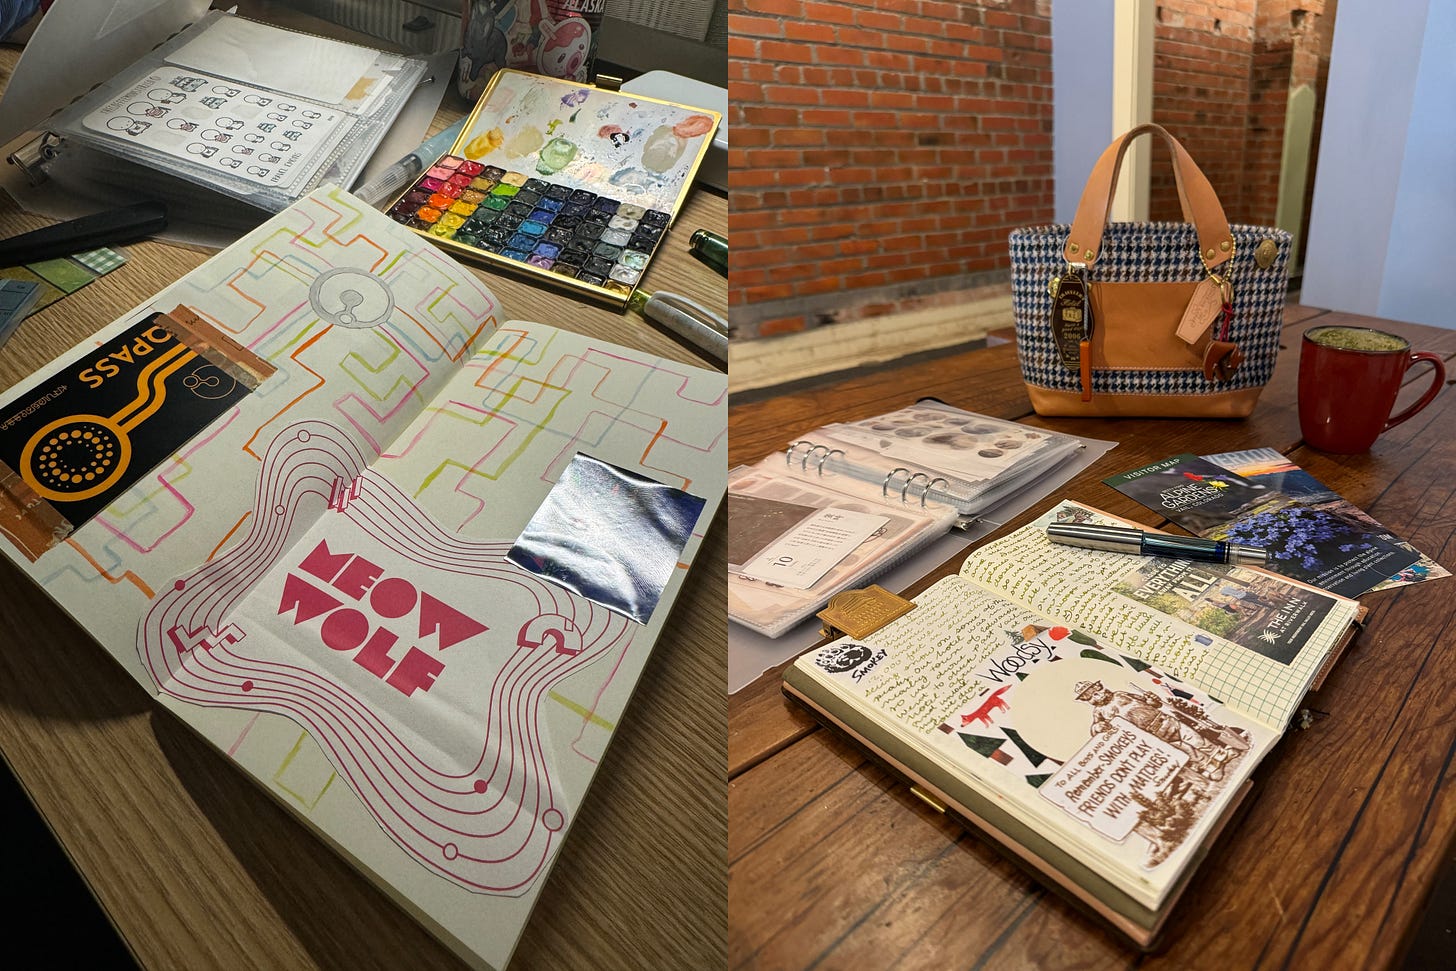
While in Denver, we stayed with my husband’s friend and explored the city, savoring delicious food and visiting the Denver Meow Wolf. Kirby enjoyed walks in the cooler weather and a visit to a dog-friendly brewery, where she got to lick some strangers (her favorite thing).
We indulged in some shopping—well, my husband did—and visited Meininger Art Supply. I almost managed to penable my husband’s friend, but they didn’t have exactly what he wanted. I refrained from spending money on stationery or art supplies, despite all the tempting options.
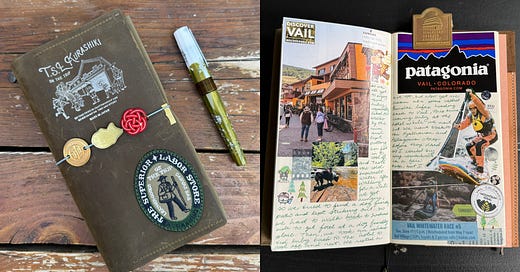
Our next location was the beautiful town of Vail, and my husband’s friend joined us to explore and see the sights, along with Kirby. We did a ton of walking in Vail, and Kirby was pooped!
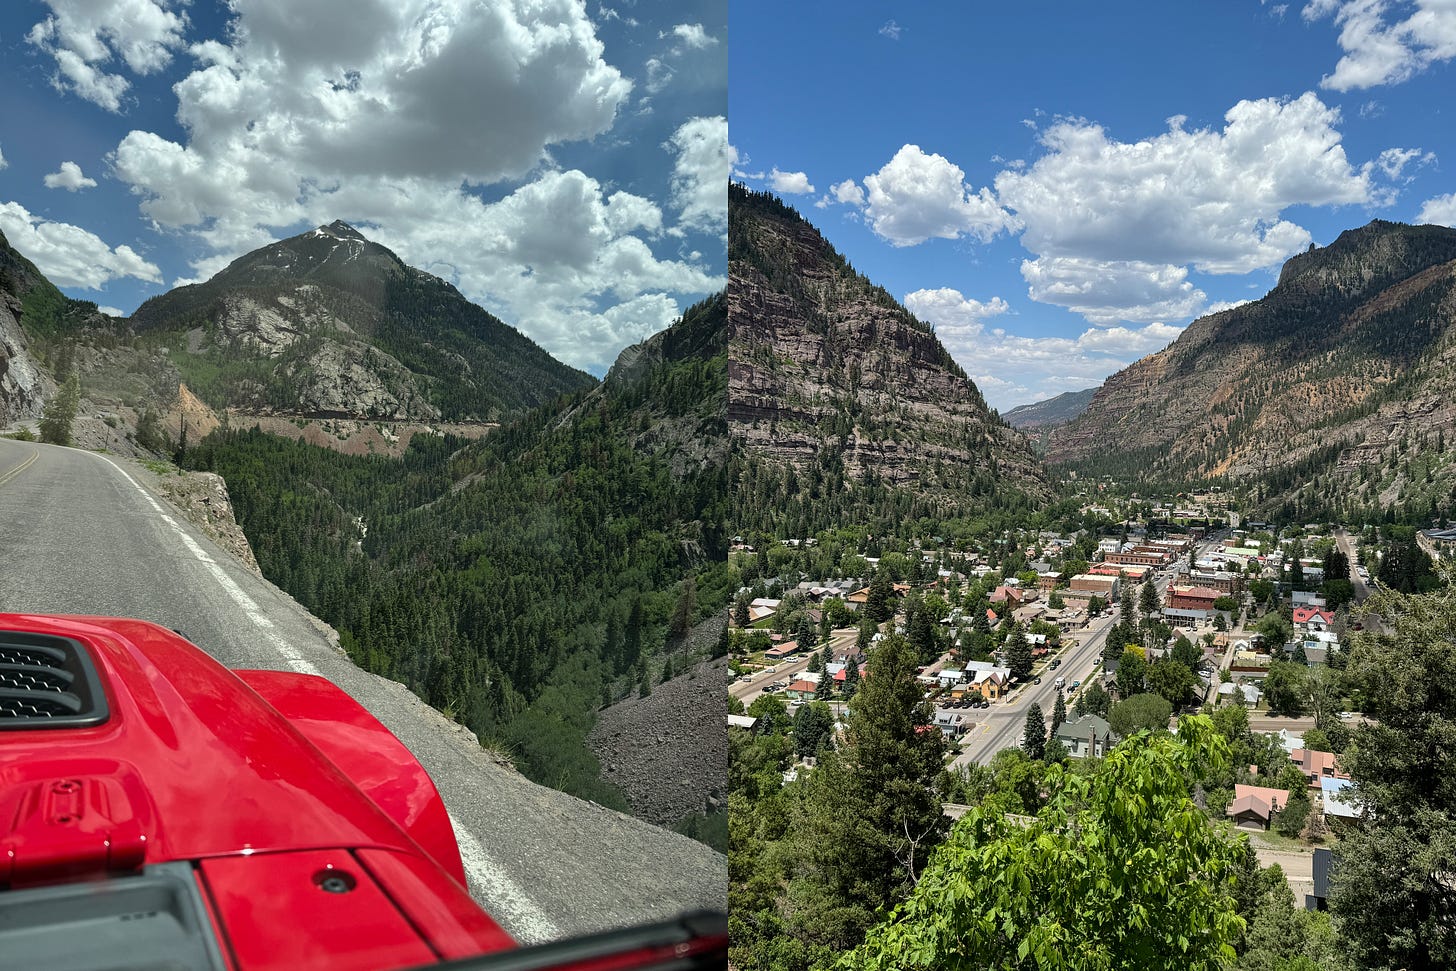
Then, his friend went back home, and we continued on to Durango, taking a scenic drive through Ouray and Silverton. The route along the Million Dollar Highway is beautiful yet terrifying, with narrow, twisty roads and steep drop-offs with no guardrails! While it’s not my favorite, my husband loves it.
We spent a few nights in Durango and returned to Silverton one day to do some exploring. We did a small portion of the Alpine Loop, a backcountry byway of old mining routes that goes through the San Juan Mountains and allows you to visit several ghost towns. A high clearance 4x4 vehicle is required for the Alpine Loop, and parts of it were still closed because of snow. We took the road to the Animas Forks ghost town, then we veered off and did the Picayune and Placer Gulch trail, which took us up a mountain over 12,000 ft elevation to see some snow!
Despite our off-road experience and the capability of our Jeep, we stuck to easier trails since we were traveling alone. I’m always amazed by how well our Jeep handles difficult terrain. That I can drive this vehicle every day, then take it on a road trip, drive up a mountain, then drive back home with no issues never ceases to amaze me.
On our last few days, we explored Durango, shopped, went to a farmer’s market, and visited a lovely coffee shop in an old repurposed junior high. Although Durango is famous for its steam train to Silverton and back, we didn’t ride it, having done so on a previous visit. If you ever visit Durango, I recommend taking the train one way and riding a bus back. The full round trip takes upwards of nine hours, and it’s exhausting and uncomfortable.
The next morning, we packed up and drove to Santa Fe, New Mexico, detouring through the Santa Fe National Forest for a scenic drive. I’m glad we took that route because the scenery was beautiful, but Kirby was getting tired of the off-road sections. We stayed the night and visited the original Meow Wolf, then the next morning we got up early and headed home, another fourteen hours of driving. Then back to work the next day!
Tips for Road Trip Journaling
Some of these tips can also apply to any type of travel journaling!
One advantage of a road trip is the abundance of space to carry supplies. You don’t have to worry about scissors or other items being confiscated, and weight is less of an issue since you’re not carrying everything around.
Something to consider, though, is what will happen to your stuff. Whether you’re camping or staying in hotels, you’ll either unpack everything or leave your items in your car. We stayed in hotels, and we removed everything to prevent theft, which meant several trips from our car to our room. When camping, unpacking items into your tent may be necessary depending on the distance from your car. If it’s a long trek from your car to your tent, it can be arduous. If you have a camper or RV, this is less of a concern, though you may have other things to consider.
Be mindful of the weather. Your car may suffer extreme high and low temperatures, affecting things like inks, paints, and glues. High temps can also damage thermal paper like receipt paper, and Pilot FriXion products erase with heat.
Higher value or irreplaceable items might be better left at home. If you’re camping, an urushi pen might not be the best choice in the elements. For a trip like this, I would recommend pens that are easier to replace and won’t cause heartache if stolen or lost. My most anxious moments are always when we’re between hotels with all our stuff in the car, and we have to make a stop for food or something else.
Road trips can be dirty, with long hours in the car, dust and extreme temperatures. There’s always a risk something can get wet or ruined. I often leave my main journal at home and bring along a traveler’s notebook with a fresh insert, so I don’t have to worry about my hard work and memories getting destroyed, lost, or stolen.
Use Airtags or similar item trackers. I keep these in my bags and vehicle, and even on my dog. That way, if something gets left behind or wanders off, you have a higher chance of recovering it. My phone notifies me immediately if I leave an Airtagged item behind. This is especially great for road trips, since you might not realize you’ve left something behind until you’ve driven six or seven hours to your next destination.
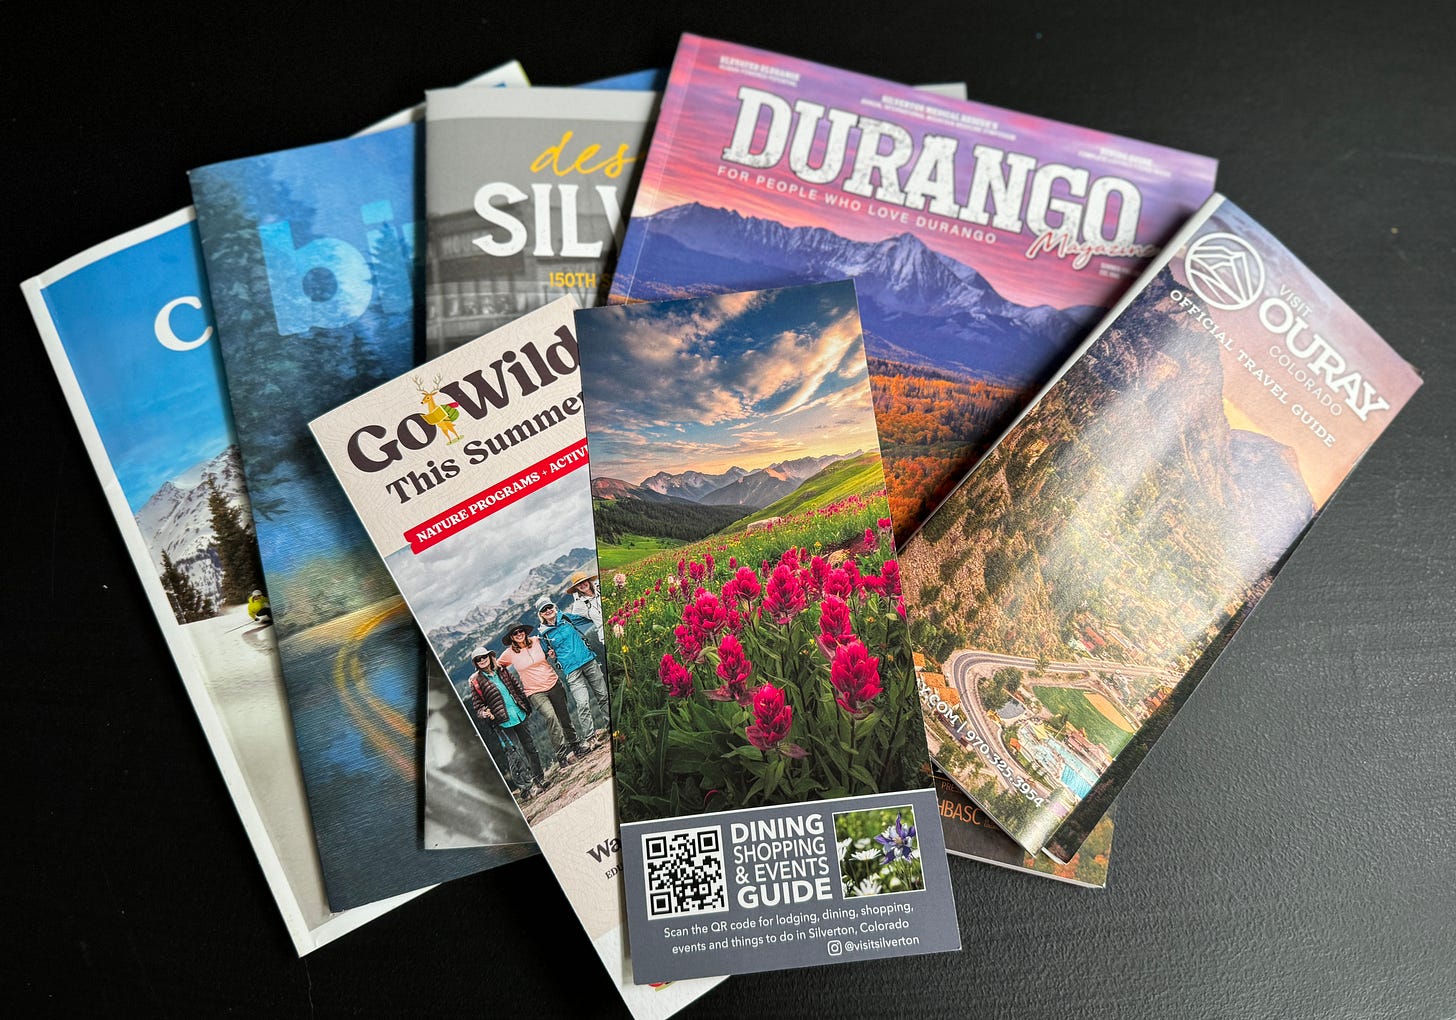
Collect free ephemera. Once you start looking for ephemera, you’ll develop an eye for it. There are so many options, especially when you’re in touristy areas. Go to information centers and pick up free pamphlets and maps. Grab two copies of each map, especially if you like the stuff on the front and back. Pick up a local freebie magazine or newspaper. When you see those racks of a billion pamphlets, who knows what ephemeral goodies may be inside? Especially if you plan to go to any of the things they’re advertising. Magazines can provide beautifully printed photographs that can be cut out and used as backgrounds or parts of a spread without having to use money to print photos.
Some businesses give out free stickers or bookmarks, or you may pick up a business card. Save disposable items like cute paper menus, custom napkins, chopstick sleeves or cup sleeves, paper tray liners, stickers, labels, or wrappers. Most restaurants will even give you fresh paper tray liners or wrappers if you ask nicely. If you buy something and the bag is branded, save it! Receipts are also an option, especially if they have the restaurant’s logo. However, I don’t tend to save receipts because the thermal paper will fade. If it’s extra-special, I will scan and re-print it.
If you’re in a café or restaurant and notice that they’ve stamped their bags, wrappers, or cups, ask if you can use the stamp for your journal. Often, they’ll be delighted to let you use it. One time, we asked, and they brought out an entire box of stamps! Bring along sticker paper or extra paper in case you don’t know where you want to put the stamp right away. National parks, forests, and monuments also tend to have stamps that list the location with the current date dated, so stop in visitor centers and info centers to get your stamp and pick up those pamphlets and maps.
Try to leave a little downtime for journaling. My husband and I run ourselves ragged during trips, and we just keep going until we’re too exhausted to function. If you don’t have time to journal, keep a list of what you did every day, so it’s easy to put it all together later. Taking pictures helps too, since you can go back and look at the chronology of your trip.
Bring along something to store all your ephemera. I love the Traveler’s Company Spiral Ring Notebooks with the paper pockets. These are great for longer trips too, because you can separate each day’s ephemera into its own pocket, label it, write your daily notes on the pockets, and have everything you need to journal when you have time. I also love this A5 album, because it comes with different sizes of pockets that make it easy to store ephemera and other things. I also suggest bringing along a large envelope or clear file to store larger pieces of paper or magazines, maps, and anything that can’t easily fit in a smaller organizer.
What I Brought
Let’s get into the nitty gritty of what came along on the trip, what I actually used, and how I used it.
Yes, I know I over packed! But we had space for it (barely) so I indulged. Some points below will reference the picture above, so keep that in mind.
One of the most important things I prepared for this trip was a capsule of my own tapes, stickers, and ephemera. For the capsule, I used the A5 album listed in the section above to organize items I thought might help me decorate my journal. I slid in some tape samples, sticker flakes, rub on stickers, and bits of paper that were outdoor and camping themed. I also included some French bulldog-themed stationery since Kirby joined us on this trip. This required anticipating things we might see, do, or eat, which can always be tricky. The more thoroughly your trip is planned, the more you know what to pack to complement your journaling. Instead of bringing entire rolls of washi, I wrapped samples onto cards and brought those instead.
This album came in quite handy, and I used items out of it to decorate the pages I did work on. Plus, it had extra space to help me save ephemera and keep it from getting damaged, so I would definitely use this again for future trips. I might even take it traveling on a domestic flight, though I think it’s a bit too bulky and heavy to take on an international trip.Next up is pens. I love to carry around my 6 slot Rickshaw pen roll, and I filled it with six pens. I chose my Conid Kingsize with Oblation’s Portland Rain ink, a glow purple TWSBI Eco with an architect grind, filled with Wearingeul Flowing Leaves, my BENU Matcha Latte filled with Oblation Olive, a Kyuseido Kakari with a stacked nib and an unknown Sailor ink, the Leonardo x Stilo&Stile Momento Zero Prisma with Colorverse Red Rock, and the Sailor x Yoseka Origin filled with the matching Ink Institute x Yoseka Origin ink. While I didn’t use all of these pens while I was traveling, I appreciated having the variety of nibs and colors. I prefer my pen roll full when I travel, so if a slot is empty, I can easily know if a pen is missing.
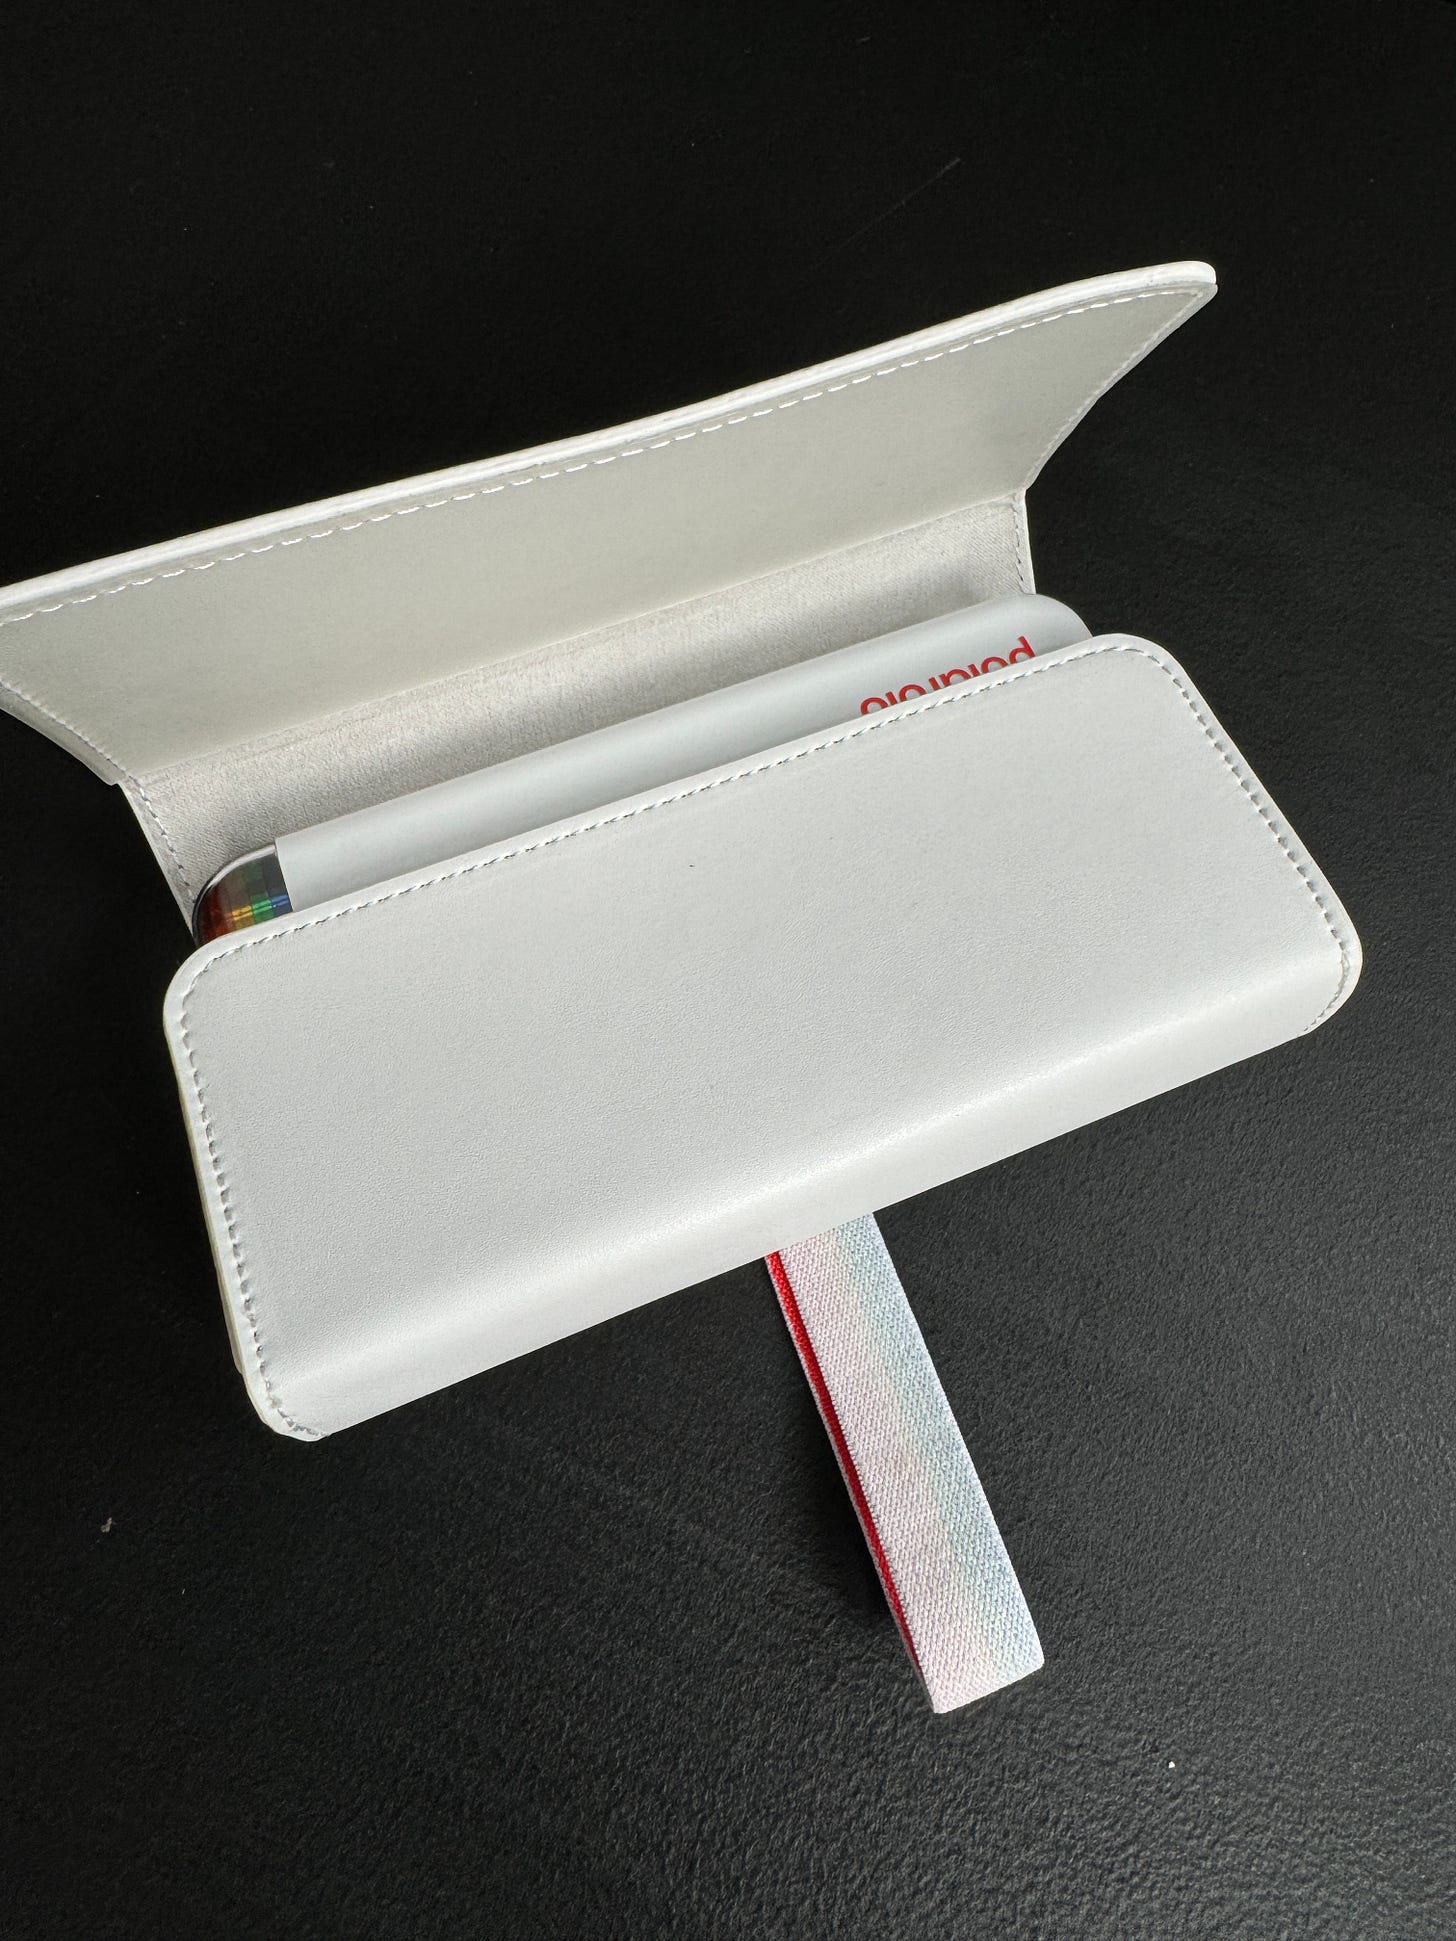
Last year, I picked up a photo printer, the Polaroid Hi-Print. I wanted a dye-sublimation printer instead of a ZINK printer because I love how the photos turn out. The downside with dye-sub printers is that they’re bigger and bulkier than the ZINK, but I think it’s worth it. I recently picked up a case to help protect it because noticed it was getting beat up when I had it loose in my bag. Along with it, I packed an extra box of paper/ink refills. I used the printer for my journaling and I would have used it more, but I ran out of time. The paper is a little pricey, so I used magazine cutouts for larger images, which helped with size variation in my spreads. I also print two photos per sheet of paper to save a little money.
Two bible size PLOTTERs, which are always in my bag. I probably could have consolidated into one, but both were already set up for different things, so I tossed them into my bag. I always appreciate how slim and compact the PLOTTER is in situations like this, where it’s not much more of a burden to bring multiples. The Pueblo Brown is set up as my everyday PLOTTER and the Shirinami has important lists, writing notes, and swatches of my watercolor palette. I used this sparingly, but I’m happy I had them. They’re like my comfort PLOTTERs.
I also brought along my A5 PLOTTER in Liscio blue, which is my main writing notebook. I wanted to do some writing, and it’s handy to have, but I didn’t have the time or energy to work on my book. Again, it’s compact though, so while I didn’t need it, carrying it wasn’t a burden.
I waffled on bringing along my Hobonichi 5-Year because I’ve put a lot of work into it and I was afraid of something happening to it. But I brought it along because it’s my daily watercolor journal, and I’m severely behind. I planned to work on it if I had some extra downtime or felt inspired, but I didn’t touch it at all. It could have stayed at home, safe and sound.
I packed a pouch of waterproof pens to go with my watercolor supplies. I didn’t touch these either, but I would have if I’d done some major watercoloring.
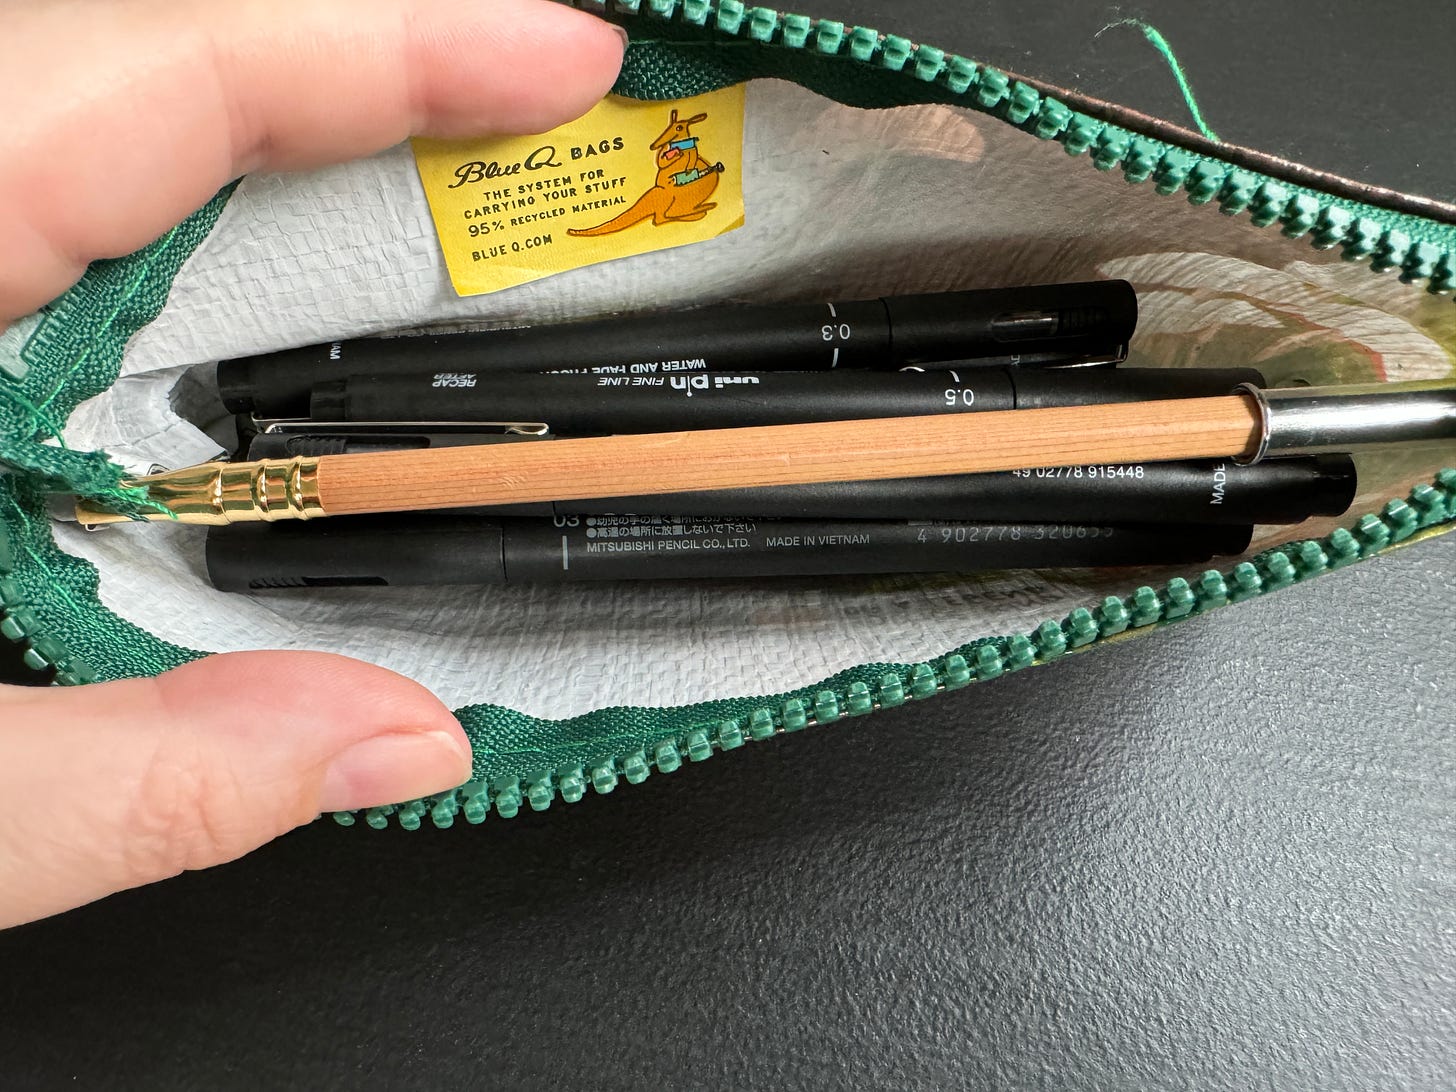
Continuing with the watercolor theme, I packed my Pocket Art Toolkit filled with my watercolor supplies. These include the waterproof 0.05 Uni Pin for line work, a Kuru Toga for sketching, various travel brushes from Escoda and Grey Matters, and all three sizes of Art Toolkit palettes, the demi (smallest) filled with Holbein gouache, pocket (middle size), and folio (largest), filled with various brands of watercolors. Along with the pallettes were my Fuji eraser, water brushes, and a pocket mister. I used my watercolors once during the trip, and I wanted to use them more, but I ran out of time and energy. I love the Art Toolkit system fits so compactly together though, and this set is something I always have in my bag, just in case inspiration strikes me.
I also brought along a Rickshaw coozy case full of various colored Uni-ball Ones and Pentel Sign Pens. This is another thing that’s usually in my journaling kit because it’s lightweight and easy to carry around. I use the Uni-ball Ones to help match writing to spread color. It’s especially useful when I only have six colors of fountain pen at my disposal. The Sign Pens are great for a bit of fancy hand lettering or a cool brush-like effect when I’m writing. These came in handy during my journaling on the trip.
For my travel journal, I decided on my regular-sized Olive TRAVELER’S notebook customized at The Superior Labor in Kurashiki, I loaded it with three inserts: Accordion Fold, a Traveler’s Train MD cream insert I got in Japan, and the Sticker Release Paper insert. I used the sticker release paper to bring along some other stickers and tapes that I pre-cut so they’re ready to use. It’s also useful for saving stickers or labels from your trip until you’re ready to use them. I used both the train and sticker release inserts, but I didn’t use the accordion. I want to use it but I really struggle with it because it’s such a huge page and I get anxiety about doing it “right.” Someday I’ll actually use it.
Various tools and supplies: the X-Shot collapsible water cup so I always have a cup for watercolor. The Traveler’s Factory X Starbucks Reserve Roastery brass clip I picked up in Japan, always great for keeping a notebook open. PLUS scissors that never get sticky from cutting tapes and have a guard so they don’t come open in your bag. The iMat cutter and folding mat I got from a friend in Taiwan. I used the cutter, but it was duller than I expected, so cutting was difficult. I need to figure out if I can sharpen it. A Toyooka craft pen rest keychain I got at the San Francisco Pen Show. A PLUS glue tape dispenser (I also packed a spare refill). These are high capacity and stick so well. Uni-ball One P for quick notes. Delfonics M pouch (my ride or die). MU wooden stick for transfer stickers, which I used in my journal during the trip. I also brought sticker paper, which helped when I found a few stamps I wanted to collect.
What I Wish I’d Brought
This list won’t be huge, mostly because I already brought so much! But here are a few things I wished I’d had:
More washi tape sample color variety. I didn’t anticipate how colorful Meow Wolf would be, so I didn’t pack many bright colors. I should have brought at least one set of samples that had every color of the rainbow, just to make sure I’ve got a variety. The watercolors came in handy to help me add the colors I needed.
More color/nib variety with my fountain pens. I love a broad nib, but sometimes a girl needs a fine nib for tiny writing. All of them were on the broader side and three of my six pens had green inks in them, so the variety was less than I ended up desiring.
More food stickers. I didn’t have a good idea of what we might eat since we didn’t plan much, so I didn’t have what I wanted for some spreads.
A proper hobby knife. I have several, and these would have come in handy. I relied on the iMat cutter and it kept getting caught on the paper and ripping it. So I either need to sharpen it or bring something sharper next time.
Purchases
Okay, I think I’ve gone on long enough here. So for spending, I didn’t buy any stationery on this trip, and I’m not going to count the few vinyl stickers and postcards I purchased while traveling. They’re souvenirs, not really stationery, and most of them won’t be used in my journal.
I actually feel like I had little compulsion to spend money on stuff. I bought a bag, which is the perfect size to hold my ReMarkable, a PLOTTER, and a couple pens to take to cafes and write. Other than that, nothing really stood out to me as necessary. I don’t know if the no-buy has changed me, or if I just felt satisfied with what I already had, but I didn’t do a lot of spending on this trip and I’m pretty proud of myself.
So my totals haven’t changed since last month. I’m still clutching my $10.98.
As always, you can monitor the tracker here, or copy it and use it yourself if you’d like!
Thanks for reading! If you’ve made it this far and you’re not a subscriber already, make sure you subscribe! All the no-spend updates are free!
I enjoy comments and feedback, so let me know what you think of my progress so far! If you’re also on a no-spend or low-spend, let me know how it’s going!
I also have a little tip jar! Any tips or paid subscriptions directly go into my “quit my job to write full-time someday” savings account.

